23 Dec Everything You Need to Know About Installing a Skylight

Would you like to brighten up your life? Add a skylight! Installing a skylight in your Quad Cities area home isn’t difficult. In fact it’s something most any experienced handyman (and woman) can accomplish in a weekend. Here we give you everything you need to know about installing a skylight.
Quality Matters When Installing a Skylight
First and foremost, do not skimp on quality when installing a skylight. You will want to make sure you get an energy efficient unit. Make sure the skylight you select is excellent quality as far as water tightness and load and wind resistance capacity. Torrential rain and heavy snow can cause damage to a bargain basement skylight. Durability is a consideration so you want a skylight that is sturdy, strong and can pretty much take anything Mother Nature and our Midwest weather dish out. We’re pretty big fans of the VELUX skylights and have had great results with them.
Consider the Sunlight
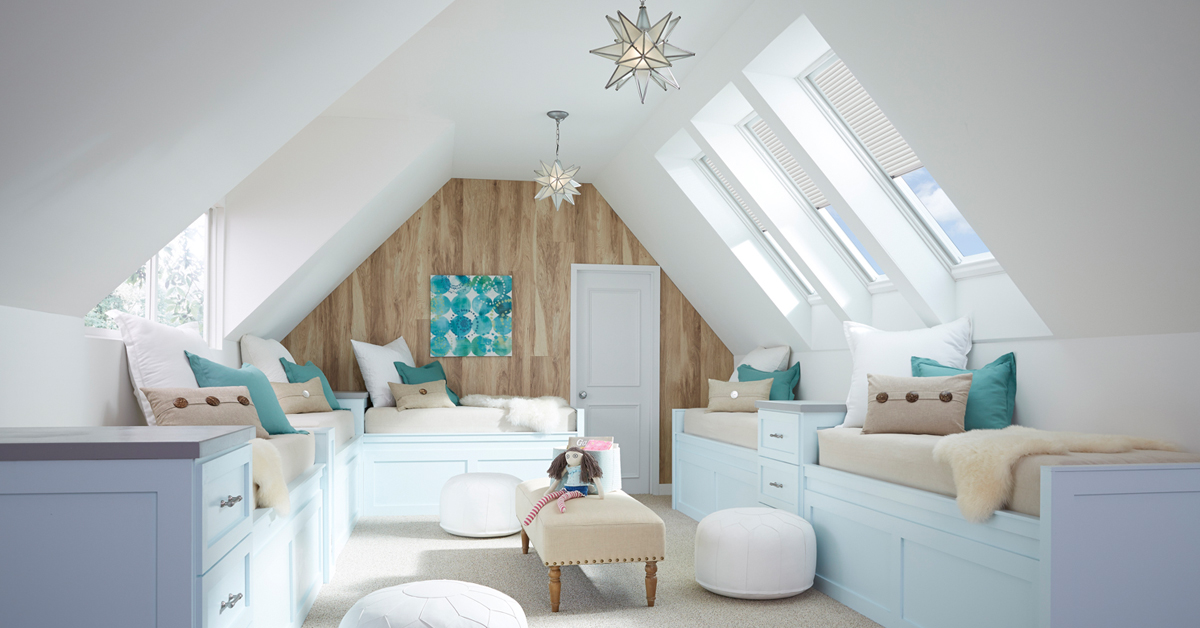
Installing a skylight floods your room with natural light, which most homeowners agree is a good thing. However, consider the sun’s direction at certain times of the day. Installing a skylight that faces south is likely to overheat your room in hotter weather. Intense sunlight’s UV rays may damage wood surfaces like furniture, cabinets or even flooring. UV coating and tinted skylights may help prevent that damage. There are skylights available with integrated blinds to shade out the intense sunlight and comfort glazing adds extra insulation to prevent heat loss in cold weather and too much heat in summer.
Choose Your Placement Carefully
Where you place your skylight depends on the placement of your rafters. Never cut into your roof without a plan or a blueprint of your home. You will also need to know the slope or pitch of your roof for flashing. The flashing kit is based on these measurements.
Once you’ve selected where you will be installing a skylight mark off the outline of your unit. Remove the sheathing and place screws into the four corners of the box outline so it will be easier to locate from the roof.
When you get up on the roof of your home it’s necessary to remove the full sheet of shingles about seven inches beyond the measured points (screws) to access the area where you will place the opening for your skylight. Snap a chalkline between each pair of screws.
Cut Your Opening
Using a circular saw plunge-cut through the sheathing along the chalkline on three sides. At this point it’s necessary to have some assistance on the inside. As you cut the fourth side of your opening your assistant will carefully lower the cut-out portion of your roof. Nail the sheathing along the perimeters of your opening to ensure it’s secured. Attach the flashing membrane (self adhesive type) to the perimeter and fold the top one inch onto the exposed sill.
Waterproof Flashing
In the Quad Cities we experience all kinds of weather events. Summer rains, winter snow, ice storms and sleet. That’s why it’s important to add waterproof flashing to the flashing that comes with your kit when installing a skylight. This prevents water from seeping in and damaging your roof or your home’s interior.
Place the Skylight
Have your assistant lift the skylight and, together, lift it through the opening. With the bottom edge resting against the sill lower your skylight unit into place. Drive roofing nails (1and 1/4 inch) through the flange into the roof to secure the skylight unit. Cover the bottom flange with a strip of self-adhesive membrane extending six inches beyond the edge of the unit. Cut a slit into the extended membrane at a 45° angle. Wrap the top part of the membrane around the frame of the skylight and press the bottom part onto the roof.
Attach the Sill Flashing
Nail roofing shingles over the bottom membrane and place the u-shaped flashing over the shingles. Place it over the skylight edge and nail the corners to the roof. The membrane beneath will seal around the nails. Cover the exposed sides of the flashing with shingles.
Flash the Sides
Attach a piece of the L-shaped flashing over the top half of the shingles covering the sill flashing. Nail the flashing and cover with a shingle. Repeat this process with the step flashing along both sides of the skylight unit. Then attach the top edge saddle flashing by slipping it underneath the shingles and sheathing. You will need to cut a slit into the sheathing. Fit the flashing against the top edge of your skylight and lift the shingles to nail in place.
We’re Here to Help
The hardest part about installing a skylight is getting up on the roof. If you’re uncomfortable with heights or don’t feel all that confident about your abilities when it comes to installing a skylight we suggest using a professional for the installation. For any questions about installing a skylight contact Seiffert Building Supplies. We’ll help you understand the project ahead of you and assist you in selecting the right skylight for your home.